Why material preparation matters in optical sorting
Optical sorters rely on precise detection technologies—including color cameras, NIR sensors, and hyperspectral imaging—to identify and separate materials. Contaminated or poorly prepared feedstock can lead to:
- Reduced sorting accuracy and product quality
- Increased false positives and negatives
- Premature wear of sorting equipment components
- Higher maintenance costs and downtime
- Compromised performance due to dust and debris
- a larger amount of rejected material in the sorting process
Essential steps for material pre-cleaning
1. Remove large contaminants and foreign objects
Begin by eliminating oversized items, metals, and obvious contaminants that could damage downstream equipment:
- Screen out oversized materials using vibrating screens or trommels
- Extract ferrous metals with magnetic separators positioned early in the process
- Remove non-ferrous metals using eddy current separators when applicable
- Hand-pick large foreign objects that automated systems might miss
- Implement an object sorter that will handle the preliminary separation of the material.
2. Size classification and homogenization
Consistent particle size improves optical sorting performance significantly:
- Implement multi-deck screening to create uniform size fractions
- Target optimal size ranges for your specific optical sorter (typically 3-10mm for most applications)
- Consider material density when determining appropriate sizing equipment
- Maintain consistent feed rates to prevent overloading sorting systems
- Introduce mixing silos to homogenize the material fractions fed into the sorter’s hopper.
3. Dust and fine particle removal
Dust accumulation on optical sensors reduces detection accuracy and requires frequent cleaning:
- Install dust extraction systems at key transfer points
- Use air classification to remove lightweight contaminants and fines
- Implement cyclone separators for effective dust collection
- Consider water washing for applications where moisture is acceptable
- Select sorters equipped with additional dust removal systems, such as the MEYER Upper Dust Sucking System.
4. Surface cleaning for enhanced detection
Clean material surfaces allow optical sensors to properly identify material characteristics:
- Remove labels and adhesives from plastic containers when possible
- Clean organic residues that may interfere with NIR detection
- Address surface oxidation on metals that could affect color sorting
- Consider friction washing for materials requiring more intensive cleaning
Below you can see comparison of different cleaning methods with its typical use cases:
| Cleaning Method | Typical Use Case | Benefits | Considerations |
| Label Removal | PET bottles, plastic packaging | Improves polymer purity | Needs extra process step |
| Residue Washing | Food or organic waste | Prevents NIR detection issues | Moisture control required |
| Oxidation Removal | Metals | Enables accurate color sorting | Adds processing stage |
| Friction Washing | Heavily contaminated plastics | Intensive deep cleaning | Higher water & energy use |
Sample preparation for testing and calibration
Creating representative test samples
When preparing samples for optical sorter testing or calibration:
- Prepare a sample representative of the types of material your company processes.
- Maintain original contamination levels during initial testing phases
- Document sample preparation methods for consistent reproduction
- Prepare sufficient quantities for comprehensive testing (minimum 20-60kg recommended)
Sample conditioning protocol
- Visual inspection and documentation of sample composition
- Pre-sorting into major categories to understand baseline material mix
- Final mixing to ensure homogeneous distribution
- Prepare separate samples of contaminations typical for your material
Material-specific preparation guidelines
Plastic waste processing
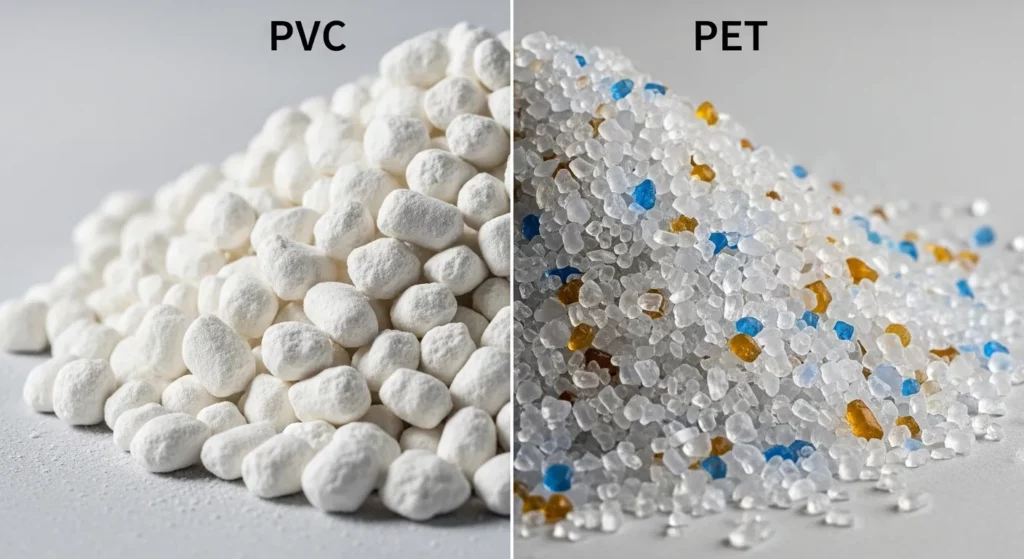
- Address PET bottle label removal for high-purity applications
- Consider density separation for mixed plastic streams
- Implement hot washing for heavily contaminated materials
- Adding preliminary object separation at the start of the production line.
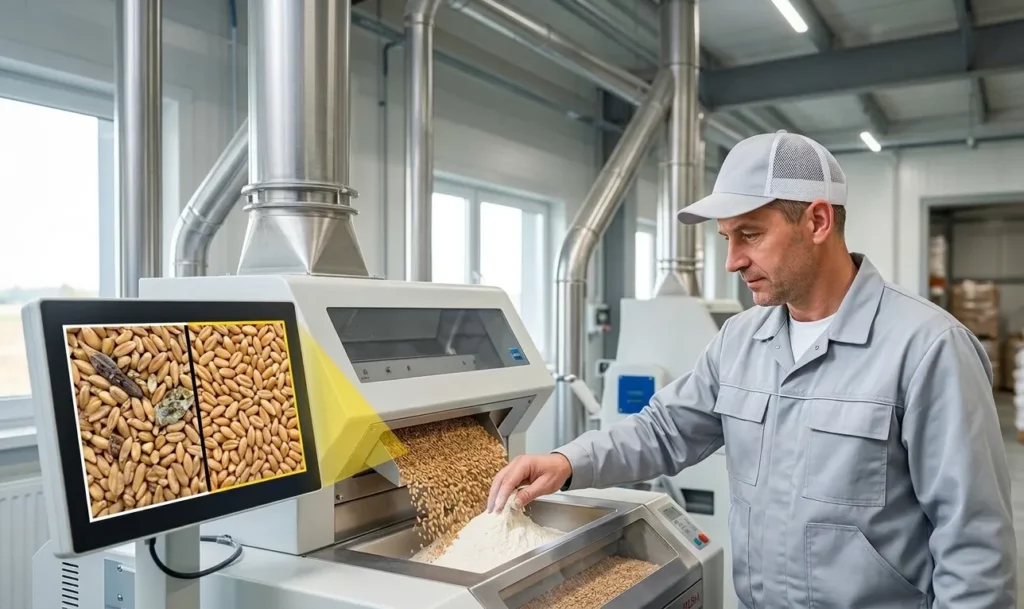
Food product sorting
- Maintain cold chain requirements during preparation
- Remove excess moisture that could affect optical detection
- Size grade to eliminate broken pieces and fragments
- Ensure food safety protocols throughout the process
Electronic waste (e-waste) preparation
- Complete safe dismantling and component separation
- Remove batteries and hazardous materials first
- Liberation of target materials through controlled shredding
- Dust suppression and worker safety measures
Material-specific preparation requirements
| Material Type | Critical Preparation Steps | Key Challenges | Quality Targets |
| Mixed Plastics | Label removal, size grading, density separation | PVC contamination, multi-layer packaging | >95% purity, <2% moisture |
| Food Products | Gentle washing, moisture control, temperature management | Bruising prevention, cold chain | Zero foreign objects, consistent size |
| Paper/Cardboard | Contaminant removal, moisture optimization | Ink bleeding, fiber loss | <5% non-paper content |
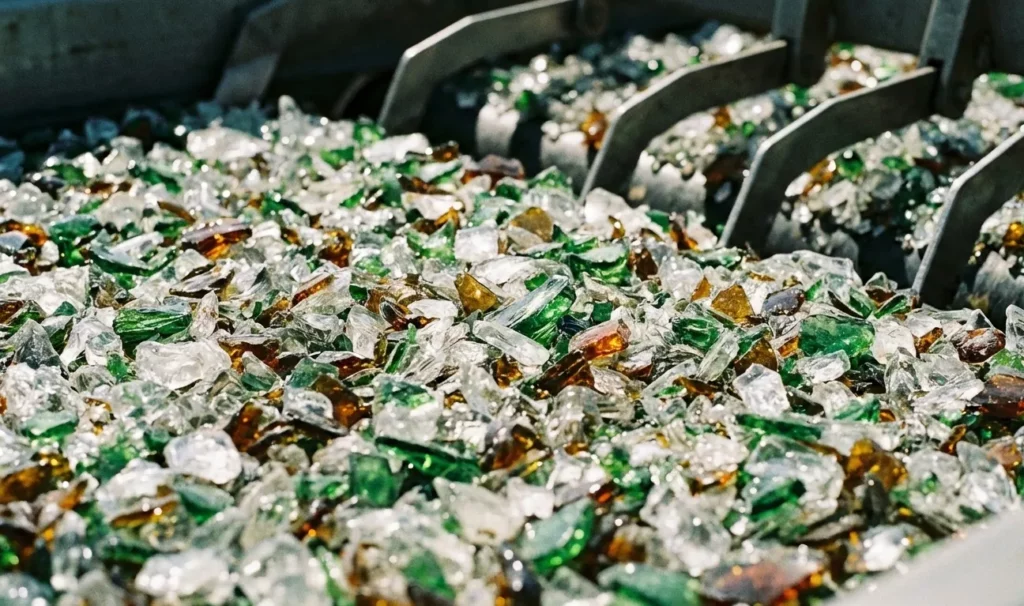
| Glass | Size control, metal removal, organics cleaning | Safety concerns, mixed colors | >98% target color purity |
| E-Waste | Dismantling, liberation, dust control | Hazardous materials, complex assemblies | Material-specific recovery rates |
Quality control and monitoring
Establishing preparation standards
- Document standard operating procedures for each material type
- Implement quality checkpoints at critical preparation stages
- Monitor key parameters such as moisture content, size distribution, and contamination levels
- Regular calibration of preparation equipment
Performance tracking
Track preparation effectiveness through:
- Sorting efficiency measurements comparing prepared vs. unprepared materials
- Equipment utilization rates and maintenance frequency
- Final product quality metrics and customer feedback
- Cost-benefit analysis of preparation investments
Common preparation mistakes to avoid
- Over-cleaning materials beyond what’s necessary for effective sorting
- Inadequate size control leading to inconsistent feed presentation
- Insufficient dust removal causing sensor contamination
- Poor sample representation during testing phases
- Neglecting equipment calibration after preparation system changes
Optimizing your preparation process
Continuous improvement strategies
- Regular process audits to identify bottlenecks and inefficiencies
- Technology upgrades in preparation equipment as needed
- Staff training on proper preparation techniques
- Data collection and analysis to drive process improvements
Integration with sorting operations
- Synchronize preparation capacity with sorting line throughput
- Implement buffer storage to manage material flow variations
- Coordinate maintenance schedules across preparation and sorting equipment
- Establish clear communication protocols between preparation and sorting operators
Conclusion
Effective preliminary material cleaning is not just a preprocessing step—it’s a critical investment in your optical sorting operation’s success. By implementing thorough preparation protocols, monitoring key quality parameters, and continuously improving your processes, you’ll achieve higher sorting efficiency, better product quality, and reduced operational costs.
Remember that material preparation requirements vary significantly based on input material characteristics, target product specifications, and optical sorting technology. Work closely with your equipment suppliers and process engineers to develop preparation protocols optimized for your specific application.
The time and resources invested in proper material preparation will pay dividends through improved sorting performance, reduced maintenance requirements, and higher-quality end products that meet increasingly stringent market demands.
Frequently Asked Questions (FAQ)
Why is pre-cleaning important in optical sorting?
Because optical sorters rely on clean surfaces and consistent particle size to detect materials accurately. Skipping preparation leads to errors, downtime, and higher maintenance costs.
What is the best way to prepare PET bottles?
Remove caps and closures, strip labels, and consider hot washing for sticky residues. For high-purity rPET applications, density separation adds extra quality assurance.
How clean should materials be before entering an optical sorter?
Not spotless, but free from dust, oversized contaminants, and major surface residues. The goal is to ensure sensors can clearly identify each item’s material signature.
Can I over-clean materials?
Yes—over-cleaning wastes resources and may not improve sorting results. The focus should be on achieving consistent size, dust reduction, and visible surface clarity.
Does material preparation differ by industry?
Absolutely. Food requires strict hygiene and size grading, plastics often need label removal, while e-waste demands hazardous component removal first.